Stress, boredom, fatigue—it’s a perfect recipe for imperfect food cravings. And unfortunately, these are the feelings most travelers experience during vacation layovers.
In today’s fast-paced society, traveling means waiting. And waiting is a feeling we’ve grown unaccustomed too. With waiting comes boredom and most mindless munching is boredom-induced—more a way to pass the time than a real need to eat.
If that wasn’t enough of, “the odds are stacked against you,” — the normal aggravation you endure when traveling fires up your body’s stress hormones—actually making you crave those sugary, high-calorie foods you find at the airport or gas station.
Your solution — Pack more than your clothes. These days when it comes to avoiding vacation pudge, the food you put in your carry-on bag is every bit as vital as the clothes you put in your suitcase. Because bikini bodies should be the goal of summer and the trip to warm-weather destinations and beach days shouldn’t be full of fast food stops and mindless handfuls of potato chips.
Keep your diet on track on the road with the following guide to road trip snacks that will fill you up no matter how long of a trip you have ahead. These items are straight from the carry-on of Elite snack expert – Javier Estrada.
Road Trip Snack Guide
Quick Getaway (2- to 3-Hour Drive)
Easy, packable snacks are perfect to toss in the car with you when your destination is only a couple of hours away. Aim to keep your snacks in individual bags to prevent over-eating.
For some DIY options, Javi recommends throwing together your favorite nuts, dried fruit, and maybe even some chocolate chips to create your own trail mix. (check out Becca’s favorite recipe) Looking for a twist on a standard snack? Spice up chickpeas with seasonings of your choice and roast them in the oven (recipe below). Crunchy is Javier’s craving of choice so he recommends a snack to conquer every craving—from salty and sweet to chewy and crunchy.
Highway Haul (5- to 6-Hour Drive)
Slightly longer trips require slightly more sustenance to avoid mindless eating. Focus on protein in order to quiet those pangs of hunger in the later hours of your drive.
Pack a bag of beef or turkey jerky that is low in sodium. It’s a low-calorie, high-protein snack to keep hunger pangs at bay and one of Javier’s favorites. Another option: Spread a layer of peanut butter at the bottom of a mason jar and stack celery sticks or apple slices on top. Use jicama sticks and hummus for a twist on the old classic. Or have whole grain tortilla wraps filled with sliced turkey. Bring along some avocado and hot sauce to add right before you eat. The avocado brings a good dose of healthy fat and makes the meal more filling, while hot sauce adds a serious low-cal flavor boost. Store everything in a small cooler.
A Real Road Trip (8- to 10-Hour Drive)
Most ice packs won’t stay cold for a trip of this length, so it can be a challenge to keep real unprocessed food with you, says Weiler. That’s why for lengthy trips, you should pack real foods that don’t need the fridge to survive.
Your options? Kale chips are a great choice, recommends Weiler. Go for a DIY version before you leave (recipe below). Turkey jerky is also still a solid shot. An almond butter and banana sandwich on whole grain bread is also easy to eat and provides enough protein to give you lasting power. Pack one before your trip or grab some single-serving packs to keep on hand. Bananas, apples and oranges are also great non-perishable fruits to have on hand.
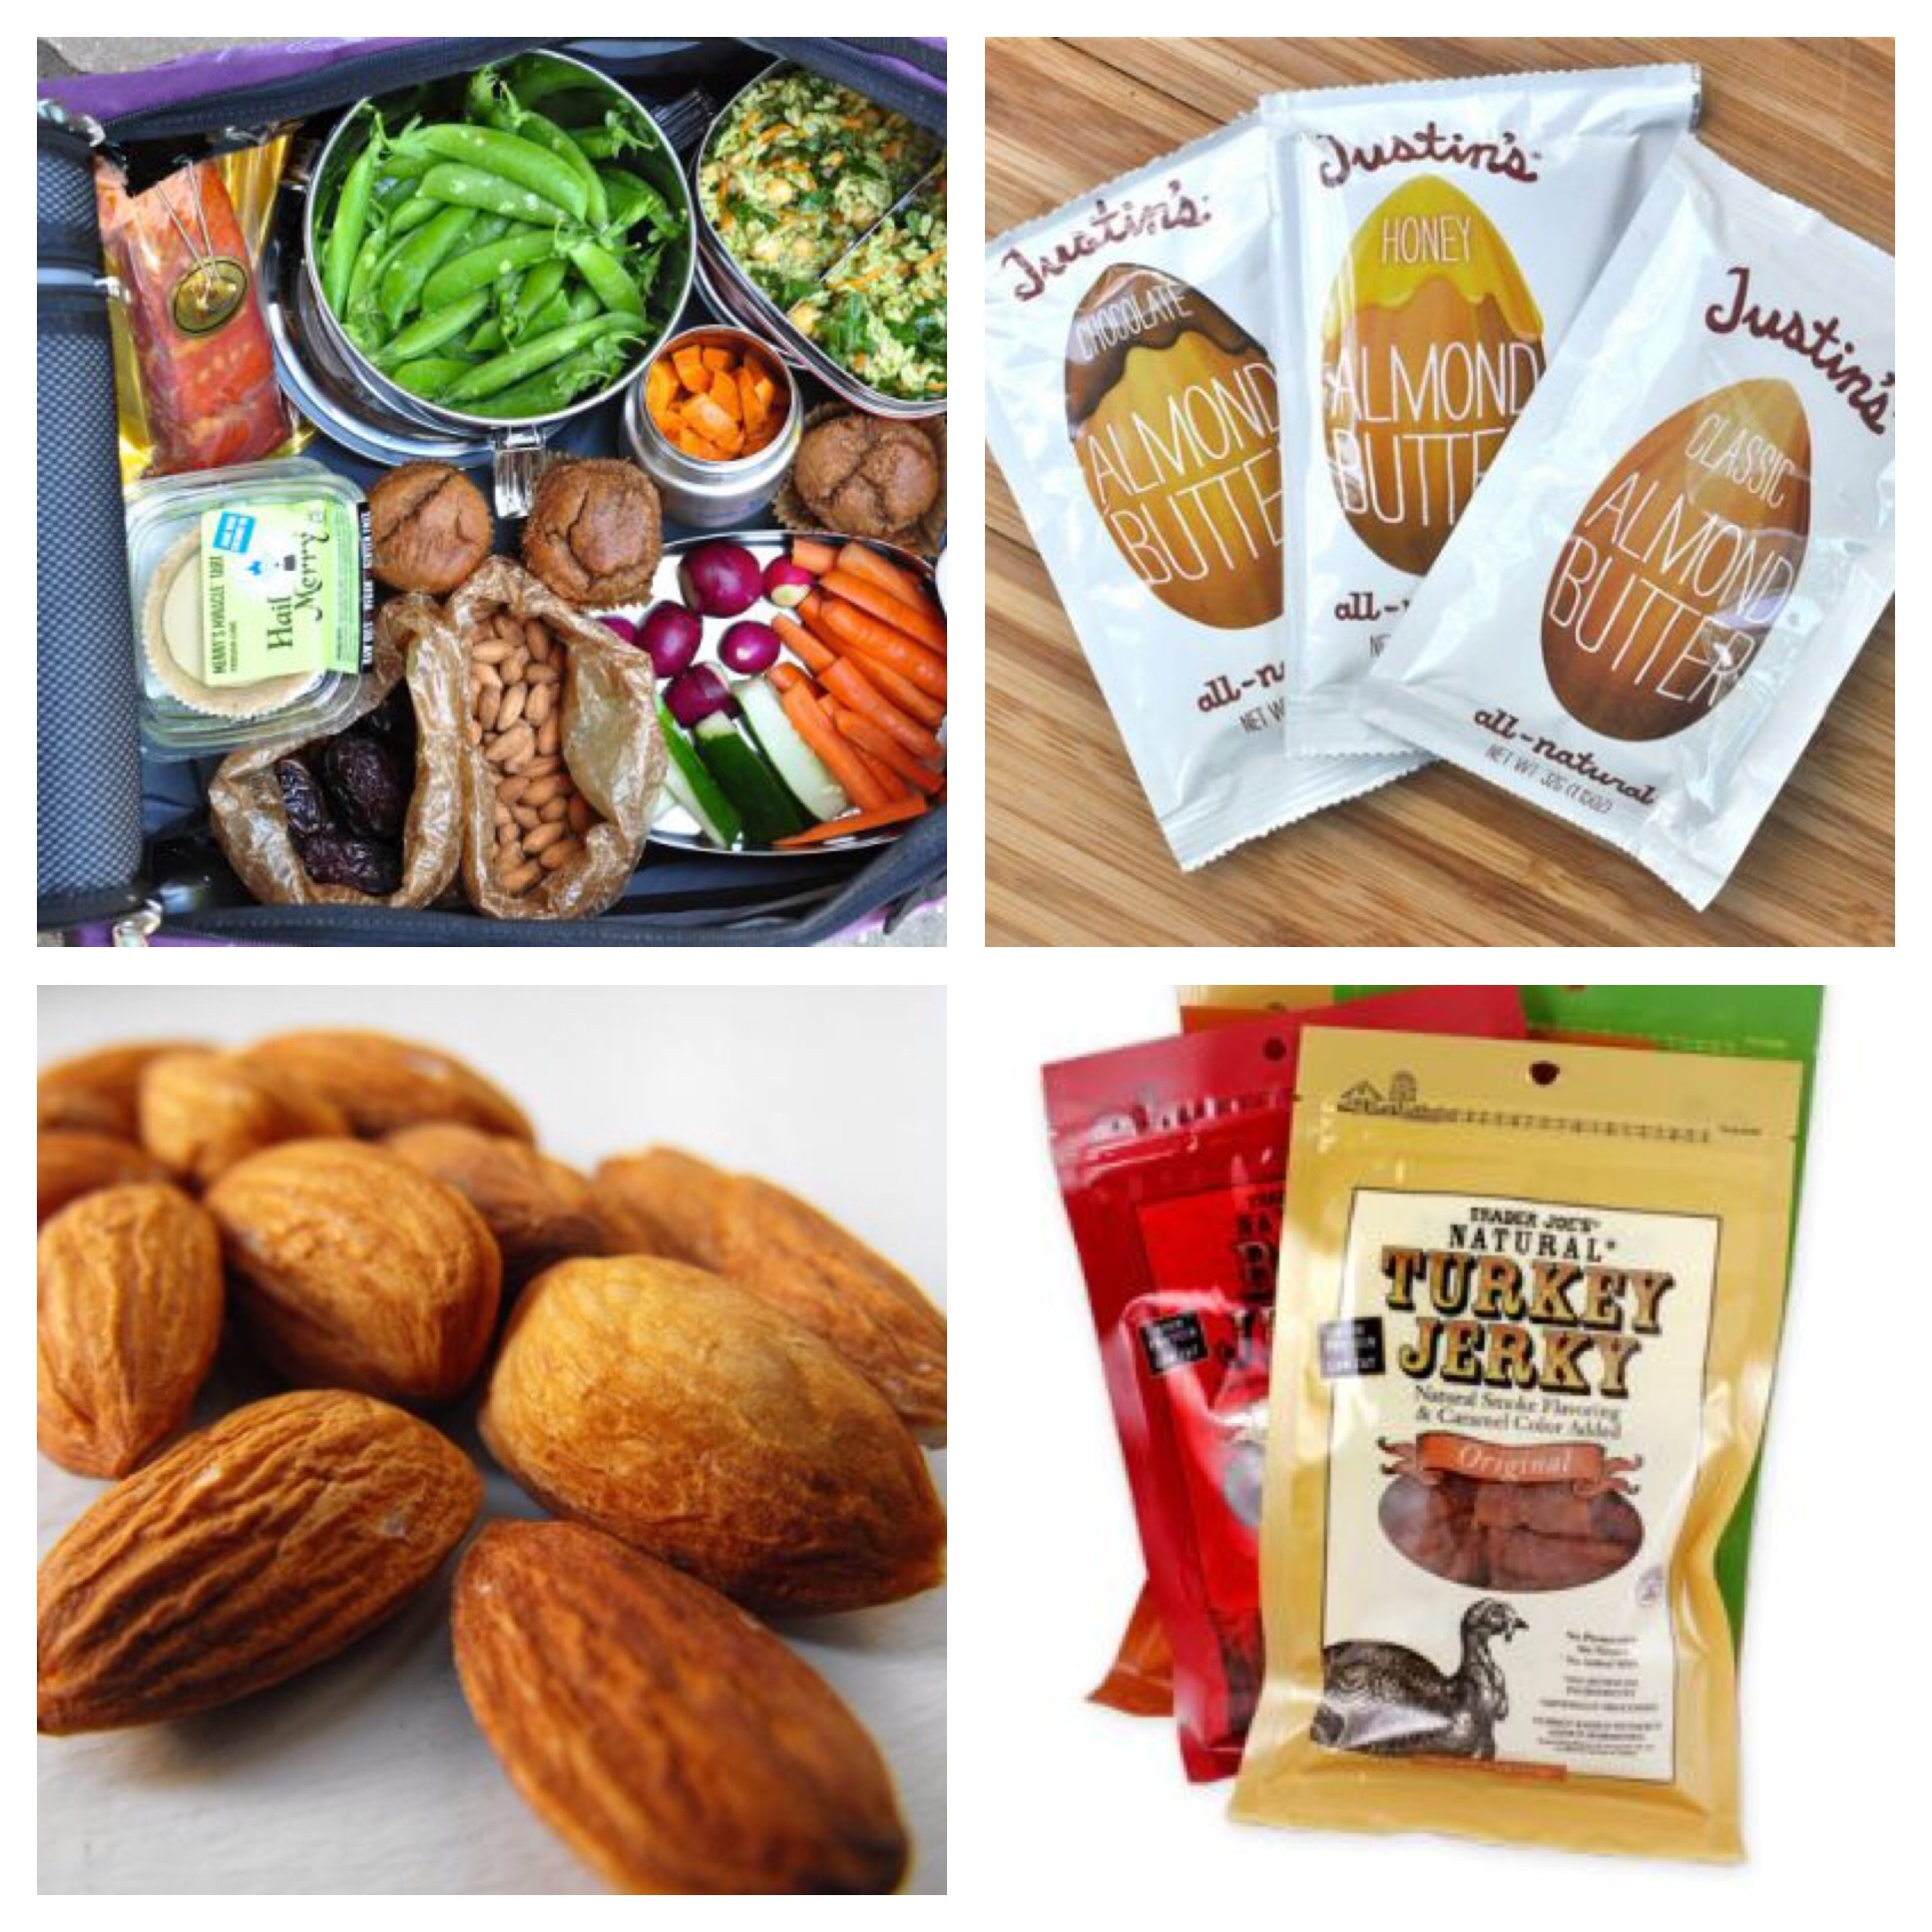
Javier’s Top 5 Go-To Snacks
- Almonds – Buy 100-calorie packs that are easy to store and grab
- Turkey or Beef Jerky
- Quest Bars
- Kale Chips
- Crunchy Chickpeas
Javier’s Roasted Chickpeas
Ingredients:
- One 15-ounce can garbanzo beans
- 1-1/2 tablespoons olive oil
- Salt
- Spice blend of your choice
Directions
- Preheat oven to 400F.
- Drain the can of garbanzo beans in a strainer and rinse with water for a few seconds to clean off the beans.
- Shake and tap the strainer to rid of excess water. Lay paper towl on a baking sheet, and spread the beans over. Use another paper towel to gently press and absorb the water on the beans. Roll the beans around with the paper towel to also remove the thin skin from any of the beans. Discard the skins and the paper towels.
- Drizzle the olive oil over the beans and use your hands or a spatula to toss around and coat.
- Roast for 30-40 minutes until the beans are a deep golden brown and crunchy. Make sure that the beans do not burn.
- Season with salt and spice blend.
Kale Chips
Ingredients
- Chopped kale leaves, removed from stems
- 1-1/2-tbsp Olive Oil
- Salt and pepper to taste
Directions
- Toss two large handfuls of chopped and washed kale in a bowl with extra virgin olive oil, salt, and pepper.
- Line a baking sheet with tin foil and bake at 300 degrees for 20 minutes.